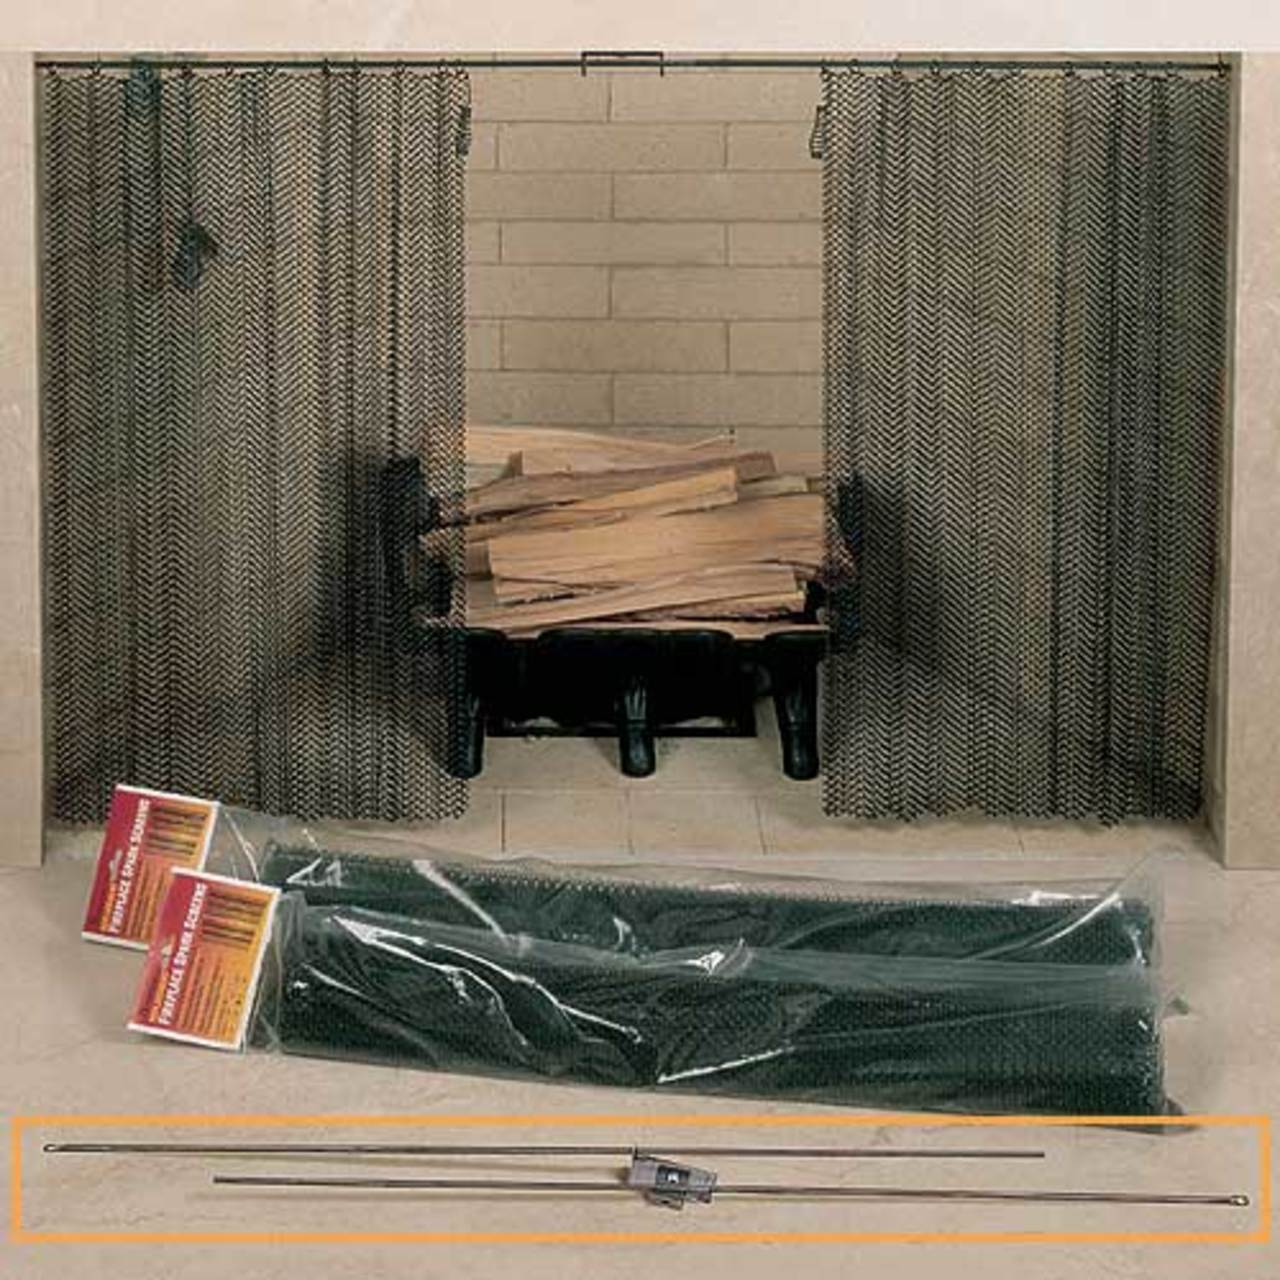
null
Screen and Rod Kit Installation Instructions

Jun 15th 2020

Screen and Rod Kit Installation Instructions

Rod Kit Includes:
2 Rods
1 Center Bracket
1 Secondary Bracket
1 Screw
1 Nut
Note: Replacement Screen sold separately>

Example 1

Required Tools:
Corded Drill
3/16" Drill Bit (You may need several of these depending on the thickness of your lintel)
3/4" x 1/4" Lag Bolts (for masonry fireplaces)
3/4" x 1/4" Metal Screws (for metal fireboxes)
Hack Saw, Grinder or Cutting Wheel (any one of the three will do)
Table Vise or Vise Grips and Strong Arms

Product Note:  Since every fireplace is constructed differently these instructions should be used as a guideline only.

Example 2

To begin align the center bracket (shown at left) in the center of the fireplace opening.  It should be as far back from the face of the fireplace on the lintel as possible.  Mark the hole placement with a marker.  Drill a hole in the steel lintel using the 3/16" Drill Bit.  Depending on your lintel this may or may not be so easy to do.  It may take several drill bits to get completely through the lintel.  The average lintel is about 1/4" thick steel with masonry behind it.  You want to drill into the masonry about 1".  Attach the sheet metal bracket to the metal lintel bar using a 3/4" x 1/4" lag bolt or metal screw depending on your situation (not included).

Example 3

Occasionally it is necessary to use the extra bracket in conjunction with the center bracket to hide the bars and brackets up behind the fireplace opening.  This will have to be used on arched fireplace openings.  Start by attaching the two brackets together using the provided screw and nut.  Next, find the center of the fireplace opening and reaching behind the lintel mark this spot with a marker.  Drill a hole in the steel lintel using the 3/16" Drill Bit.  Attach the sheet metal bracket to the metal lintel bar using a 3/4" x 1/4" lag bolt or metal screw depending on your situation (not included).  The picture to your left shows the view from behind the lintel looking back at the bracket as if you were looking into your home from inside the fireplace above the opening.


Example 4

The two metal rods will each have one end that is flattened with a hole in it.  Bend the end at a 90 degree angle as shown in the picture to your left.  This will allow you to screw the bar directly into the side of your fireplace opening.  If you will not be attaching the bars to the side of your opening (this would be true of arched fireplaces and fireplaces where drilling into the side is not an option) then you will need about 4-6 washers (not included) stacked up to give the bars space so the "hog rings" on the screen do not drag against the fireplace.  The bar attaching to the right side of the fireplace opening (this would be looking into the fireplace) should go through the hole in the bracket on the left side.  This will allow the bars to overlap in the center forcing the screen to overlap when closed.  If the bars are too long and stick out too far once passing through the bracket simply cut off the ends with a hack saw or grinder.  Be sure to leave enough that if the bar sags slightly it does not fall through (about 1" of extra bar is usually sufficient).


Example 5

This picture shows one method of how the rod ends can attach to the side of the fireplace opening.

Another option is to not bend the rod ends and use washers stacked up.  Then drill into the top of the fireplace opening and attach.


Example 6

Next run the rod through the center bracket making sure that the rods are level.  Mark the placement of the rod on the side of the fireplace.  Drill a hole using the 3/16" drill bit into the masonry, brick, marble, etc. about 1" deep and repeat on the other side.  Next thread the screen onto the rod and again run the rod through the center bracket.  Take the last "hog ring" from the screen and hold it up to the hole in the metal rod (not shown in picture).  Run the screw through the "hog ring", then through the hole in the rod and into the side of the fireplace.  This will hold the screen to the sides of the fireplace so it does not slide towards the middle.

Example 7

This is an example of what the rods should look like when passing through the center bracket.  Notice how they overlap in the center, this is important to ensure the screen closes all the way.