Mar 1st 2012
Planning Your Chimney Pipe & Stove Pipe Installation
The following recommendations are intended as a general guideline to assist in the layout and selection of the chimney components needed for your installation. Always read and follow Installation Instructions before installing your chimney system. Follow local building codes and have your chimney inspected.
Download our Chimney Pipe Installation Guide or build your chimney pipe using our Automated Chimney Pipe Builder
To Get Started
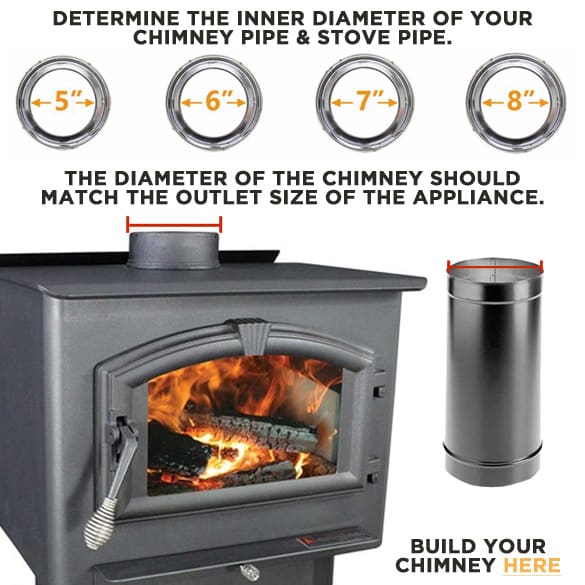
Determine the (inner) diameter of your Chimney. This is usually the same size as the flue collar on your appliance. (See Figure 1). Follow manufacturer recommendations whenever applicable. Never use a chimney that is smaller in diameter than the flue size of the appliance it is being connected to. An improperly sized chimney results in poor draft and excessive creosote formation.
Chimney Planning Step 1
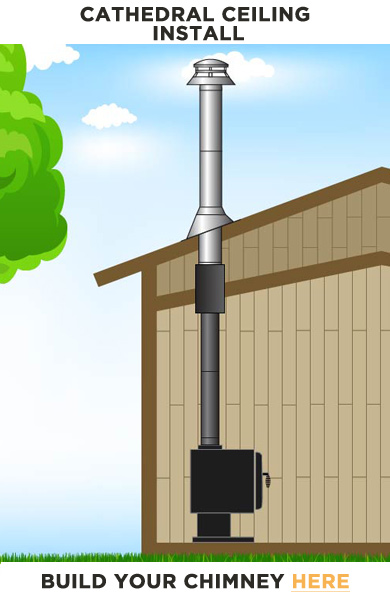
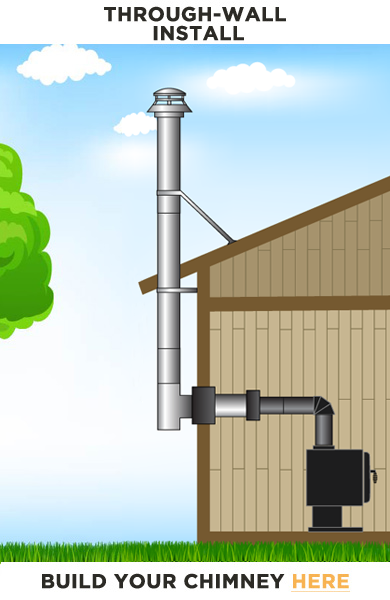
Select the type of installation by determining where your chimney will run. Installations will vary. Determine if the installation is a through-the-roof or through-the-wall installation. Do you have a second story, or a cathedral ceiling? A through the wall installation requires additional components (Wall Thimble, Tee w/Cap, Tee Support, and Wall Straps). Install the chimney pipe in the interior of the structure whenever possible. A cold exterior chimney will produce less draft and will generate more creosote. If at all possible, avoid offsets that restrict the natural draft. A straight vertical installation is more efficient. If an offset is required to avoid rafters or other obstructions, please note that elbows greater than 30 degrees are not allowed in the United States, and a maximum of two offsets in a single installation are permitted. At least one elbow strap is required for each offset.
Chimney Planning Step 2
Determine the number of Chimney Pipe lengths required. The chimney must extend at least 3 feet above the highest point where it passes through the roof, and be at least 2 foot higher than any part of the building within a horizontal distance of 10 feet (Figure 2). The termination cap is installed above this point. If the chimney pipe extends more than 5 feet above the roof, an extended roof bracket must be installed to provide stability against wind and snow. When calculating the installed length of your chimney you must subtract for each joint, (see chart below) and include the height requirements as described. This allows for the overlap of tight fitting joints. Download our Chimney Pipe Installation Guide now.
Minimum chimney height, at sea level, of a straight or vertical chimney is 10 feet to 15 feet above the appliance outlet. Higher elevations, or the use of an elbow or a tee, will require approximately 30% to 60% more height to provide for an adequate draft.


